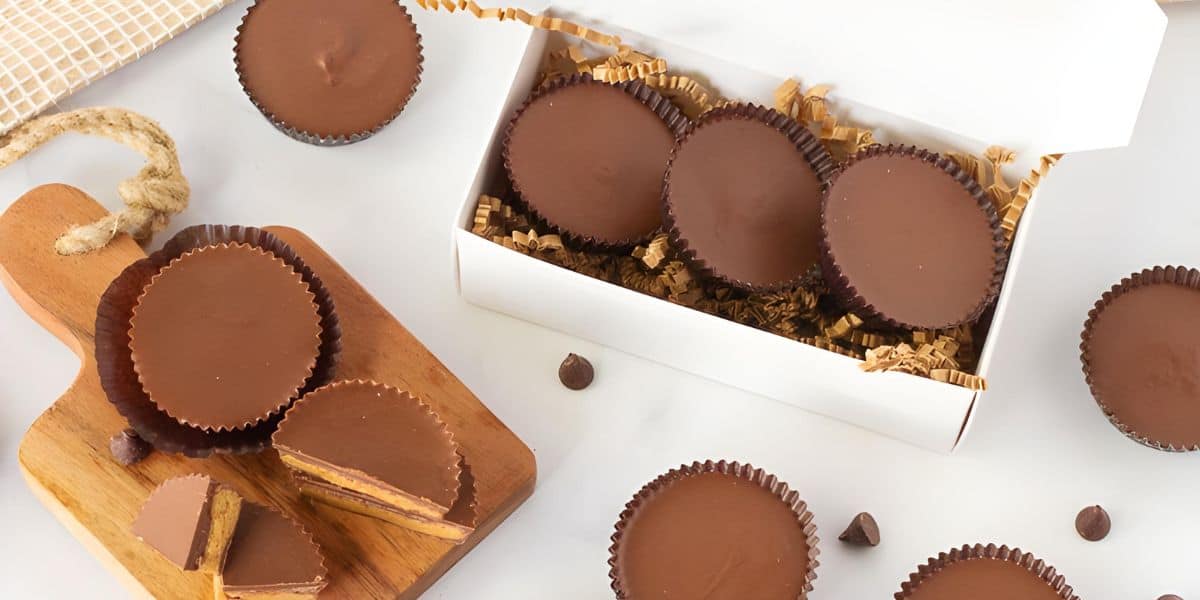
Move Over Disney Treats! Here’s a Yummy Reese’s Peanut Butter Cups Recipe
Move over Disney treats! While Disney parks are known for their enchanting array of sweets and confections, there’s one classic candy that always steals the show—Reese’s Peanut Butter Cups.
If you find yourself craving that perfect blend of creamy peanut butter and rich chocolate, look no further. This homemade Reese’s Peanut Butter Cups recipe brings this beloved treat to life in your own kitchen. Perfect for satisfying your sweet tooth and adding a touch of magic to your day, these DIY delights offer a delicious alternative to the usual park fare.
Get ready to create a treat so irresistible that it might just become your new favorite indulgence, even amidst the wonder of Disney delights.
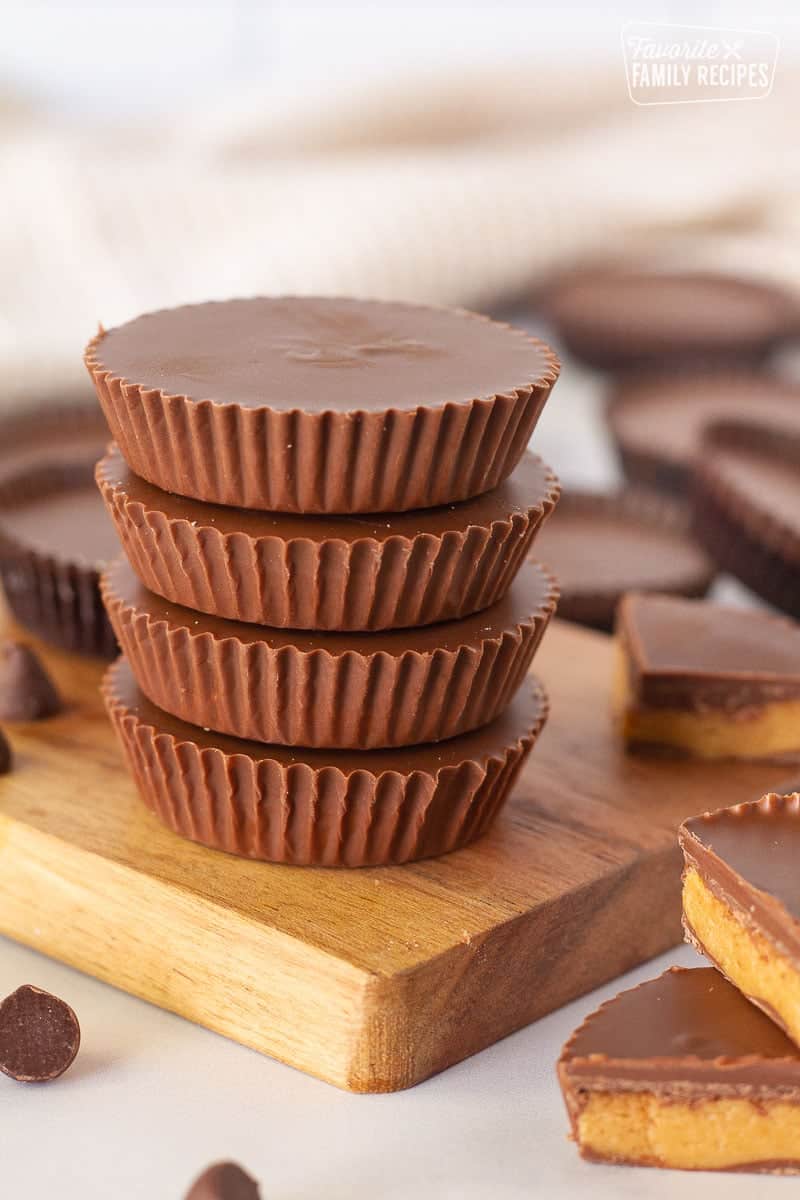
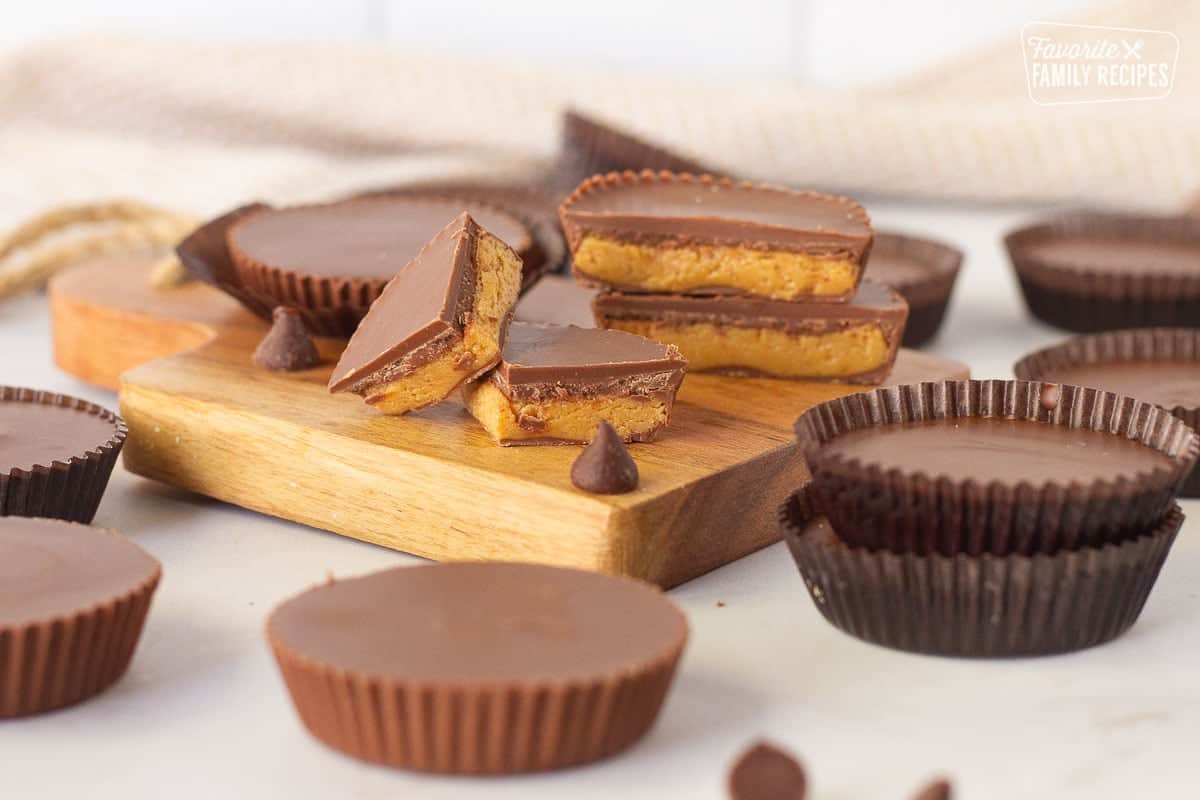
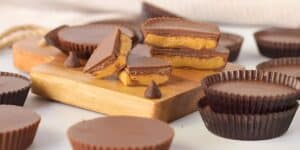
We love peanut butter cups in our family, and take them quite seriously. This homemade Reese’s Peanut Butter Cups recipe came from our grandma, who made them for us for years. The layer of peanut butter filling has the same creamy texture as the candy you buy at the store, with rich, sweet chocolate on the outside. But these taste even better, because they’re homemade! They’re perfect as a special Halloween treat, or to keep on hand in the freezer for when your sweet tooth hits.
Ingredients in Homemade Peanut Butter Cups
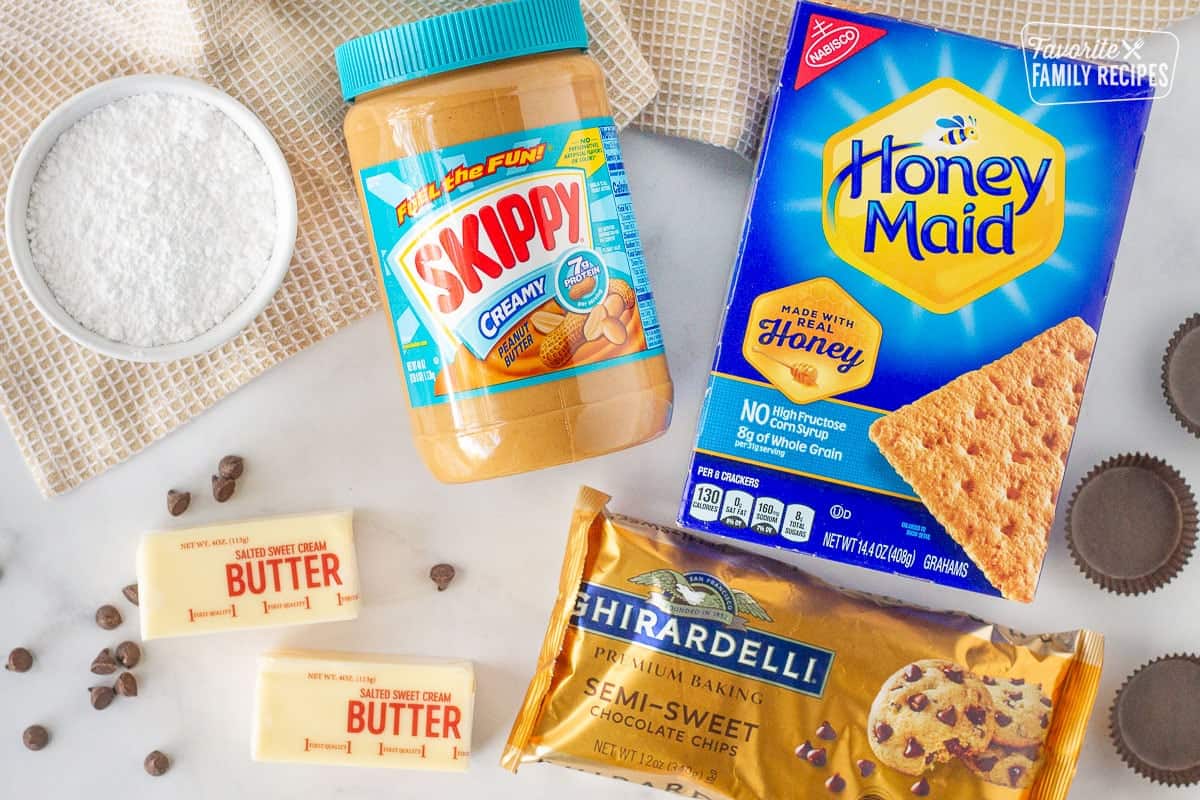
This delicious, no-bake treat only needs six pantry ingredients. You’ll find yourself making these all the time! Here’s what you need:
- Graham crackers – use a food processor to crush the crackers into fine crumbs.
- Powdered sugar – make sure to sift the powdered sugar before adding to the ingredients.
- Butter – use unsalted butter to better control the sodium in the recipe.
- Peanut butter – Both creamy or crunchy nut butter works great.
- Chocolate chips – you can use any kind of chocolate you like: semi-sweet, dark chocolate, milk chocolate, even white chocolate chips would be delicious.
How to make these treats look like Reese’s Peanut Butter Cups
They may look fancy, but making these into cute cups couldn’t be easier.
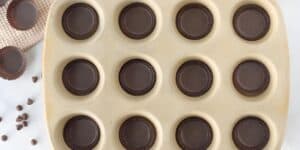
- Place cupcake liners into a mini muffin tin, or regular muffin pan, depending on how large you want your homemade peanut butter cups.
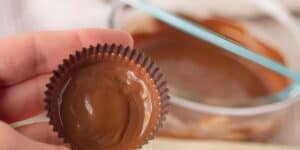
- Using a paint brush (I like to use a flat brush, about an inch or so wide) paint melted chocolate on the inside of each cupcake liner until about halfway up.
- Place them in the refrigerator to cool.
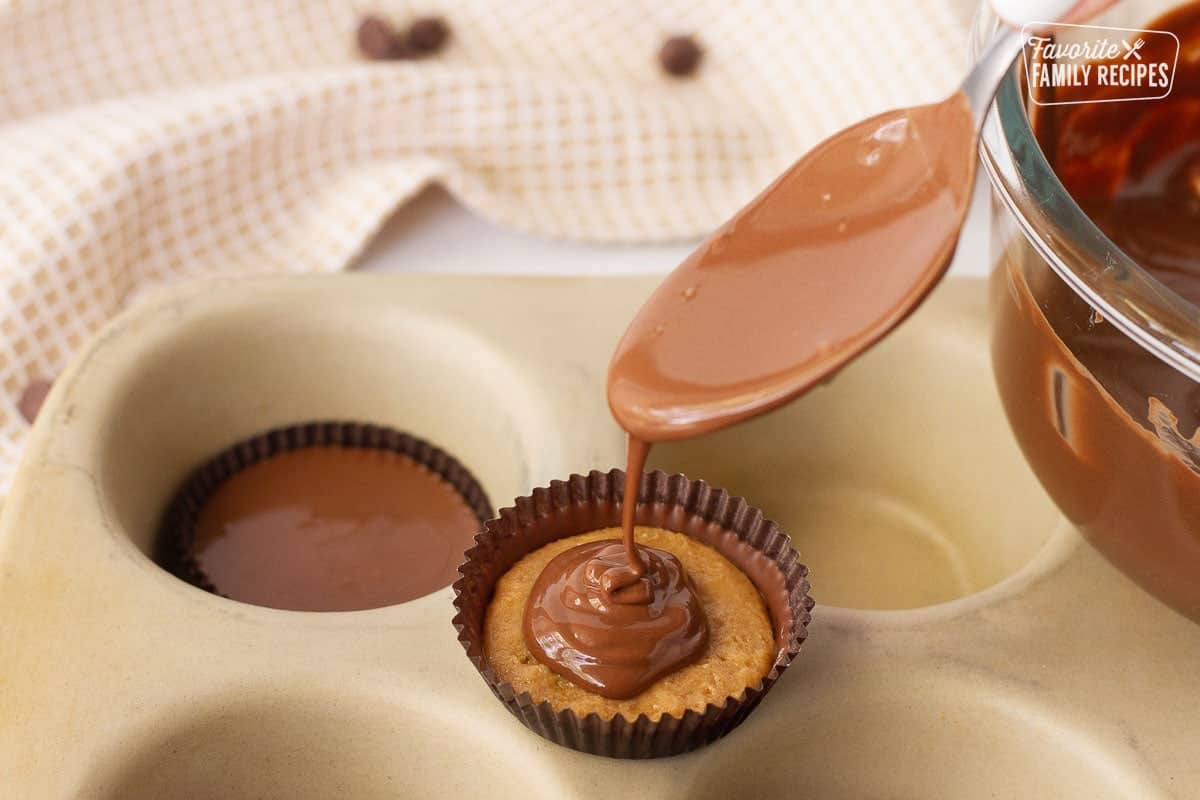
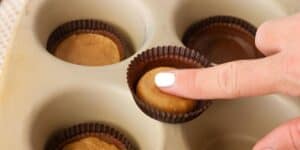
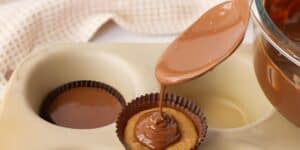
- Then, put a ball of peanut butter cup mixture into each cup (see recipe for instructions below) and top with more melted chocolate.
- The amount of chocolate needed tends to vary each time, so keep a few extra chocolate chips on hand if you need a bit more.
A Quicker Method for Homemade Reese’s PB Cups
If you don’t have a lot of time or patience to create the “cups” in the Reese’s Peanut Butter Cups, you can make things a bit easier on your self. Here’s how:
- You can make these “fondue” or “buckeye” style by first rolling the peanut butter mixture into balls.
- Next, dip them directly into the melted chocolate.
- Then, place them on wax paper to cool and harden. You will get the exact same taste and it’ll only take you about five minutes!
Variations
- Dark Chocolate Peanut Butter Cups: Use dark chocolate for the outer layer
- White Chocolate Peanut Butter Cups: Switch to white chocolate for a sweeter and creamier version.
- Cookie Dough Filling: Incorporate edible cookie dough for a delicious cookie-candy hybrid.
- Salted Caramel Peanut Butter Cups: Add a layer of salted caramel on top of the peanut butter filling and sprinkle the top with some coarse sea salt.
- Coconut Peanut Butter Cups: Mix shredded coconut into the peanut butter for a tropical twist.
- Nutella Filled Cups: Swap peanut butter for Nutella for a hazelnut-chocolate twist.
- Toffee Crunch Peanut Butter Cups: Mix crushed toffee bits into the peanut butter for added crunch.
- S’mores Peanut Butter Cups: Layer peanut butter with marshmallow whip and crushed graham crackers.
- Mini M&Ms or Reese’s Pieces Filled Cups: Add Mini M&Ms or Reese’s Pieces to the peanut butter filling for a crunchy (and delicious) surprise
Homemade Reeses Peanut Butter Cups
Ingredients
Method
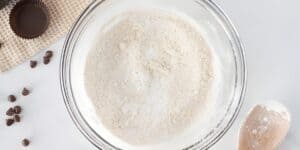
- Step 1: In a medium-sized bowl, combine graham cracker crumbs and powdered sugar until well blended. Set aside.

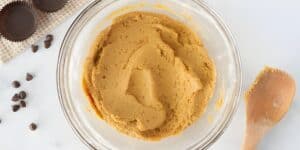
- Step 2: In a microwave-safe dish, combine peanut butter and 6 tablespoons butter. Cook in the microwave in 15-second increments, stirring in between, until melted and combined. Pour over the graham crackers mixture. Continue to stir until well combined. Set aside.
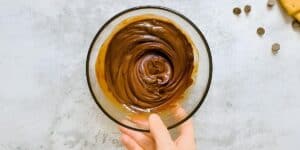
- Step 3: In a microwave-safe dish, combine half of the chocolate chips (6 ounces) with 2 tablespoons of butter. Cook in the microwave in 15-second increments, stirring in between, until melted and combined. Set aside.
- Step 4: Place cupcake liners in a cupcake tin.
- Step 5: Using a paintbrush or pastry brush, paint each cupcake liner with melted chocolate. If using full-size cupcake liners, paint about one-third of the way up each cup. If using mini cupcake liners, paint halfway up each cup. Be sure to evenly coat the bottom and sides. You don't need to paint the chocolate super thick, just enough so you don't see any of the liner underneath. Place in the refrigerator to cool for about 5 minutes, or until chocolate hardens.
- Step 6: Press about 1 tablespoon graham cracker mixture in each full-size cup (about 1 teaspoon for mini cups), making sure the top is somewhat flat. It doesn't need to be perfect; just make sure you don't go above where you painted the chocolate on the cup. Set aside.
- Step 7: Add the remaining chocolate chips to the remaining melted chocolate in the microwave-safe dish. Melt with remaining 2 tablespoons butter, stirring every 15 seconds.Spoon a little chocolate over each peanut butter cup until the peanut butter filling is completely covered. You can lightly shake or tap the cupcake pan to even out the chocolate over the filling. You want the top of the peanut butter cups to look completely flat.
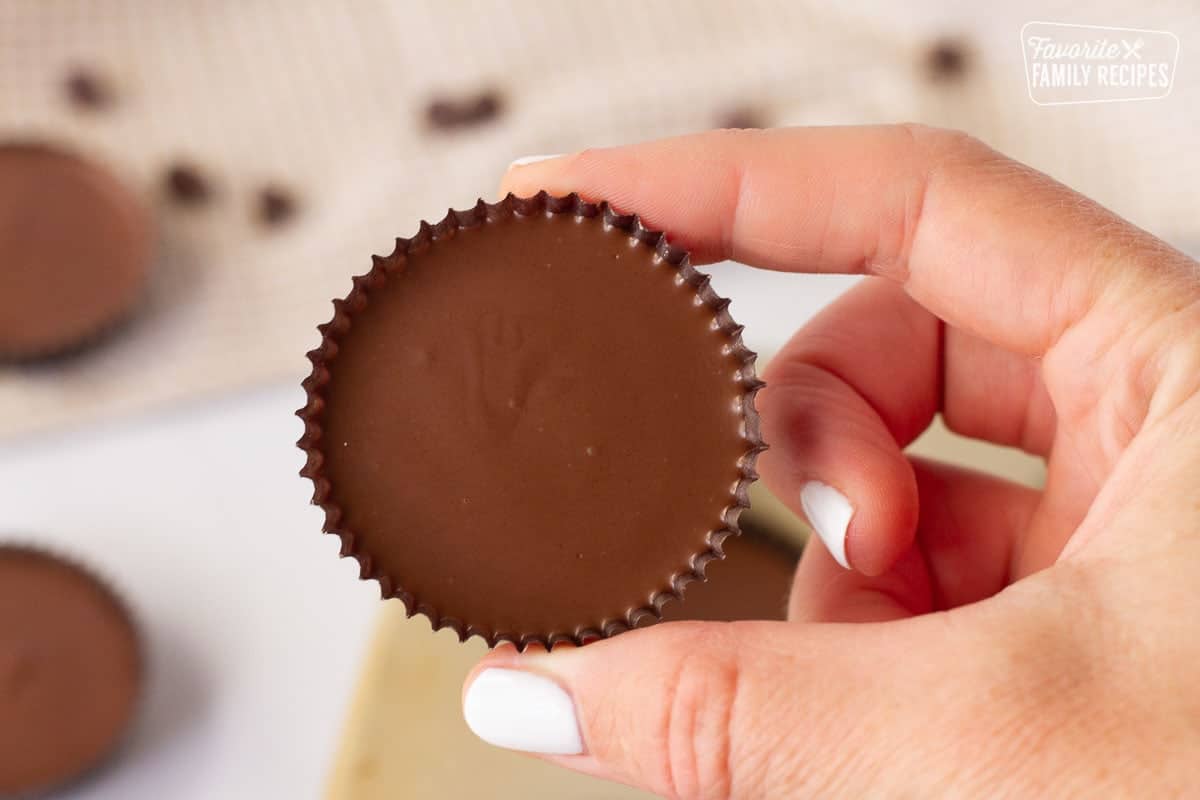
- Step 8: Place in the refrigerator or cool area until chocolate hardens, about 20 minutes, or until the chocolate is no longer shiny, then serve!
Notes
- The paintbrush I like to use is a roughly half-inch-wide flat brush.
- The amount of chocolate needed tends to vary each time, so keep a few extra chocolate chips on hand in case you need a bit more.
Frequently Asked Questions About Homemade Peanut Butter Cups
Can I use something other than chocolate chips for the candy coating?
I’ve only used chocolate chips for homemade peanut butter cups, but you can substitute with chocolate melts instead. Follow the same melting process according to the package.
Do Homemade Reese’s Peanut Butter Cups Need to Be Refrigerated?
I only refrigerate the peanut butter cups to harden them, but after they set, you can store them at room temperature. If you love cold chocolate, you can store them in the fridge or freezer too.
Can I use other kinds of nut butter in this recipe?
Yes! I have a family member that doesn’t like peanut butter, so I’ve substituted with creamy almond butter and it was delicious. Cashew butter will also work as a good substitute.
Interested in more Disney Recipes?

From a yummy Dole Whip recipe to a Chocolate Mice Recipe Inspired by Cinderella’s Charming Friends, these recipes will transport you to the Disney Parks and movies. Check out Disney foodie favorites on our recipe page!
This post originally appeared on Favorite Family Recipes.