News

Who’s Up For Some Mickey Bubble Art?!

What happens when you combine a little dish soap, water, and food coloring? With a little Mickey magic you’ll make bubble art! Keep reading to learn how to set up this fun activity for your family as shared by Family.Disney.com.


What You’ll Need:

  • Small bowls
  • Warm water
  • Food coloring
  • Non-toxic dish soap
  • Paper straws
  • Blank paper
  • Mickey Mouse Template
  • Scissors
  • Pencil

How To Make It:

Four glass dishes filled with bubbly blue, purple, red, and green liquids rest on a white surface, capturing the joyful spirit of Disney art and evoking the magic of Mickey-themed attractions.

1. Fill a bowl about half way with warm water. Add about 10-15 drops of food coloring. 

Colorful bowls of jelly crystals and playful bubbles in blue, red, and green await at a Disney parks craft station, complete with two straws—ideal for kids and families to create magical Mickey Bubble Art experiences.


For a no obligation, FREE Quote with new bookings contact our sponsor Magical Vacation Planner by calling: 1(407)442-0289 Or for a free no obligation quote with new bookings you can fill out the form by Clicking HERE!


2. Add about a teaspoon of dish soap. Start with a small amount, and if you want more bubbles, add a little more dish soap. Gently stir the soap and food coloring together. 

A vibrant cluster of iridescent soap bubbles in pink, purple, and blue hues resembling Mickey Mouse’s iconic silhouette, reminiscent of the playful bubble art seen at Disney parks.

3. Use a straw to blow into the bowl to make bubbles. Adults, be sure to help younger children. Blow into the water until the bubbles are taller than the edge of the bowl.

Mickey Mouse-inspired bubble art pops with playful pink bubbles on white paper, set against a crisp white backdrop reminiscent of Disney World’s creative workshops. Nearby, a bowl of purple liquid and a dropper hint at the magic behind this fun-filled entertainment activity.

4. Gently press the paper onto the bubbles. It may take a few tries (and a bit more food coloring) to get the bubbles to transfer to the paper. Play around with stirring up the bubbles, making them smaller and larger, and changing up the bubble pattern.

5. Repeat these steps with the additional colors.

6. Stay curious and creative! Play with layering various colors of bubbles onto one paper, or sticking with just one color.

7. Let the bubble art papers in the sun to dry completely. 

8. If you haven’t done so already, download and print the Mickey Mouse template. Carefully cut out.

A whimsical pencil sketch of Mickey Mouse’s iconic head, accented with playful purple spots on crisp white paper and a pencil nearby—evoking the creative spirit and joyful energy found throughout Disney parks.

9. Trace the Mickey shape onto the bubble art pages.

Gold scissors rest beside a pink marbled Mickey Mouse-shaped cutout on a crisp white surface—an ideal setup for fans looking to craft magical Disney Bubble Art at home, inspired by classic theme park creativity.

10. Carefully cut out.

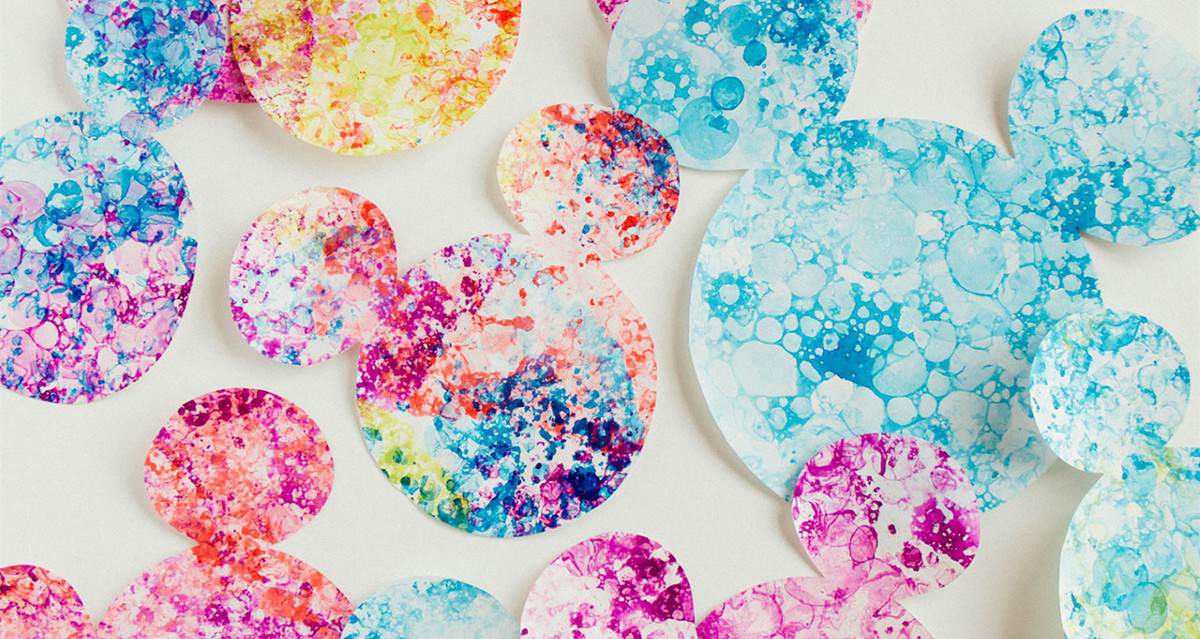
Vibrant, bubble-textured paper cutouts shaped like Mickey Mouse are sprinkled across a crisp white background, evoking the whimsical fun and creativity found in Disney park art activities—ideal for your next magical Mickey-inspired craft adventure.

11. Voila! Display your art!

Notes: Supervise younger children with bowls of bubbles, and all cutting should be done by an adult.

Source: Family.Disney.com

Jamie Sylvester

I'm a Disney nerd! A kid at heart who loves the magic and memories of Walt Disney World. I follow all things Disney and enjoy the vacations, day trips, weekend getaways, and geek out over the planning of such events. My goal is to experience as many Disney desserts and cocktails as possible! Married to another Disney nerd and blessed with a daughter and son, we thoroughly enjoy the magic at Disney and are here to help others experience the magic as well.

Related Articles